
My first foray into nålbinding saw me dive online and read as much as I could. I pored over Wikipedia, then found YouTube videos, and then onto the archaeology. Within an hour, I’d ordered a book, a naal, and a load of yarn from a local farm. I was raring to go. Once they arrived, things got a little trickier. The book confused me with how it described starting the first few loops. I put my funky new bone naal in my wallet and then snapped the tip off it. The yarn? Yeah, okay, that was pretty cool.
So, you want to give it a go as well? Here are my top 10 things I wish I’d known before I took up the craft.
1. Your thumb is your other needle
When you knit, you have two needles. I won’t try to explain why, as I can’t knit for toffee. When you nålbind, you have one needle and a thumb. Your thumb is your other needle. (Usually. There is nålbinding onto a dowel, which I’ve read about, but think of it as just a wooden thumb.)
This impacts your work in one really important way: the width of your thumb will determine the size of the loops you’re making. This then determines the gauge of the final textile you’re producing. Fat thumb? Big sititches. Teeny-tiny thumb? Much smaller loops and stitches.
This is important because…
2. Yarn comes in different weights
I didn’t know this (not a knitter!) but it turns out that yarn comes in different thicknesses (or weights). Thin, thick, really thick, looks-like-string. All sorts. More specifically, they have names. Here’s a fancy chart.
| Standard | UK Weight | US Weight | Aus. Weight |
| 0 – Lace | Lace | Lace | 2 Ply |
| 1 – Super Fine | 3 Ply | Light Fingering | 3 Ply |
| 2 – Fine | 4 Ply | Fingering | 4 Ply |
| 2 – Fine | 4 Ply | Sport | 5 Ply |
| 3 – Light | DK | DK | 8 Ply |
| 4 – Medium | Aran | Worsted | 10 Ply |
| 5 – Bulky | Chunky | Bulky | 12-14 Ply |
| 6 – Super Bulky | Super Chunky | Super Bulky | 16 Ply |
So if you think about it, if you have a fat thumb, and you use a lighter yarn, your loops and stitches are going to look very open and less dense. You’ll see “holes” where your loops are. The thicker yarns will make for smaller holes in the loops and stitches. As a rule of thumb (Ha! See what I did there?), use a thicker yarn if you want a denser final textile.
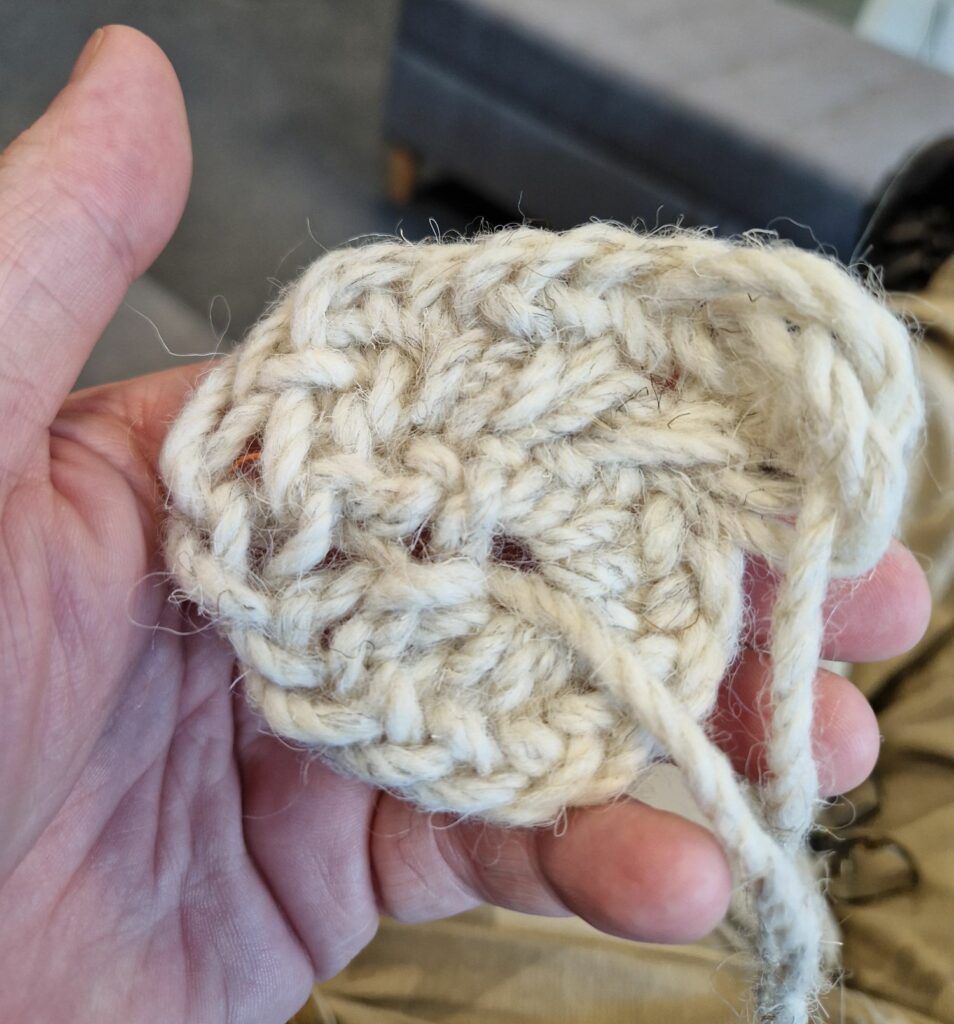
3. Start with a heavier (weight) yarn
Another reason to use a heavier yarn is that it makes it much easier to see and work with your loops. I’ve seen people nålbinding with lighter yarns, and it looks great, but I can’t do it (yet, anyway). Heavier yarn is just easier to pick up and work with.
The 100% Swaledale wool I started with was Super Chunky. I made a little bag to store my naals and other bits and pieces in and while it looks rough, it’s dense and solid (a bit like chain mail).
4. Start with a lighter (coloured) yarn
Okay, I knew this before I started nålbinding, but I’m including it, anyway. Use a lighter coloured yarn (white, cream, anything pale). It’ll make it easier to see where your working yarn and loops are going, especially when you work in the round and are picking up and joining to stitches on an earlier “row”.
5. Loops. Loops. Loops.
Nålbinding is all about loops. You’ll be looping your yarn around your thumb and then passing the working end of your yarn through other loops, back and forth in different directions (depending on your stitch) to create knots.
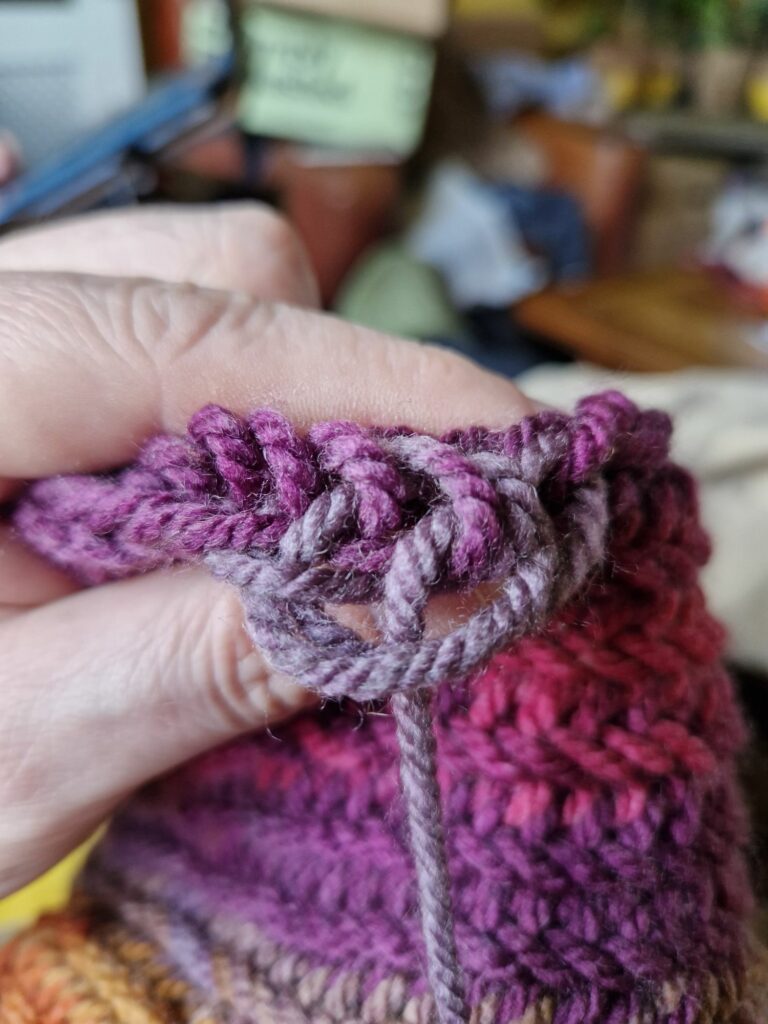
Unlike knitting, you’re creating a dense textile that doesn’t unravel. You can’t just slide the yarn off your needle and poof it unravels into a long length. You can cut your final textile and it won’t undo itself. Loops and knots, you see?
Different stitches use different numbers of loops, and you’ll see these represented by numbers and the style of the stitch. For example, the simplest (apparently) stitch is the Oslo Stitch, which is a 1 + 1 stitch. This means you’re picking up one stitch + one loop on/behind your thumb. Similarly, the Mammen Stitch is 1 + 2 (one stitch, two loops on/behind your thumb).
All stitches, or at least the ones I’ve learnt so far, follow this pattern with loops at the front and back of the thumb. What distinguishes the different stitches is the number of loops, how you pass the needle and working yarn through them, and how you connect the stitches to each other.
6. You need to learn how to felt, too
Unlike knitting, where you work off a whole ball of yarn, when nålbinding you work off lengths (usually a few metres at a time). This means you need to be able to connect the lengths each time you get to the end of your current working yarn. Introducing, felting.
Felting is a technique that allows you to connect two lengths together by recombining the fibres in the yarn from two ends. It works best with natural yarns, so that means 100% wool, or as close as you can get. Acrylic and things like that don’t felt well, if at all.
Felting is done by dampening/wetting the ends of the two pieces you need to join, then using warmth and friction to join them (usually by rolling them together in the palm of your hand).
If you don’t have water to hand to dampen your yarn, you can use spit. Be warned though, experience tells me that this is still seen as socially unacceptable, no matter how loudly you yell “But it’s how the Vikings did it!”
7. Think “in the round”
The first thing you’ll stitch will most likely be a length, made from whatever your choice of stitch happens to be. It’ll look cool. You’ll probably put it around your wrist and think “nice friendship bracelet”. But what comes next?
When nålbinding you’ll often be working in the round. That is: making circles and tubes. Once your first length is long enough, you’ll learn how to join it to itself and continue the stitching in a spiralling loop until you have a tube. Congrats! You now have a snood. Or a sock with no toes. Or an armband.
A lot of things you make will follow this pattern. If you make a hat, you’ll make a small circle and keep increasing it in a circle, forming the shape. Or you’ll start with a round which will form the base of the hat, and then decrease it to the top of your head.
And at some point, you’ll probably twist a round by accident and create a Möbius strip. This is, apparently, a rite of passage. I earned this achievement when joining my first ever round. 🎗️
8. Watch videos! All the videos!
This is a no-brainer. There are a LOT of resources on YouTube and other platforms, for new nålbinders. Some are by hobbyists, some by craftspeople, others by re-enactors (nålbinding seems to be popular in Viking re-enactment circles).
You can find a bunch of YouTube channels I’ve found useful on the Resources page.
9. Keep trying it on
No one size fits all! You might sometimes find yourself counting stitches to see where you’re up to, much like in knitting, but I’ve found the best way to see if a project is coming along the way you want it to, is to keep trying it on. Put that hat on your head, feel where it’s up to and whether you need to do some more rounds or start decreasing. If you’re doing socks or gloves, do the pair at the same time and keep trying them on and comparing them side-by-side.
10. Don’t worry about the rhythm
You’ll see videos and people will follow a rhythm with their nålbinding. They’ll be putting their needle through a loop, turning it as they slide a loop of their thumb and neatly forming a new loop. Like the click-clack of knitting needles, it will look intuitive, natural, and seamless.
Don’t try this to begin with. There are nights when I’m picking up stitches, joining them to my current stitch, and watching TV at the same time. But more often than not, through a mouthful of curses, I’m squinting at the length of stitches I’m picking up from, trying to work out which is the next stitch, and cursing because I’ve accidentally swapped my top and bottom thumb loops.
You’ll find your own rhythm in time. Just keep practicing, waste lots of yarn, and make cool stuff.